AB testing will allow you to have more than 1 variant of your pop-ups and sticky bars so that you can get the maximum conversion from your pop-ups and sticky bars.
From the dashboard, go to AB test, then click on pop-ups and sticky bars.
Here you will see all the Ab tests you have created in your account.
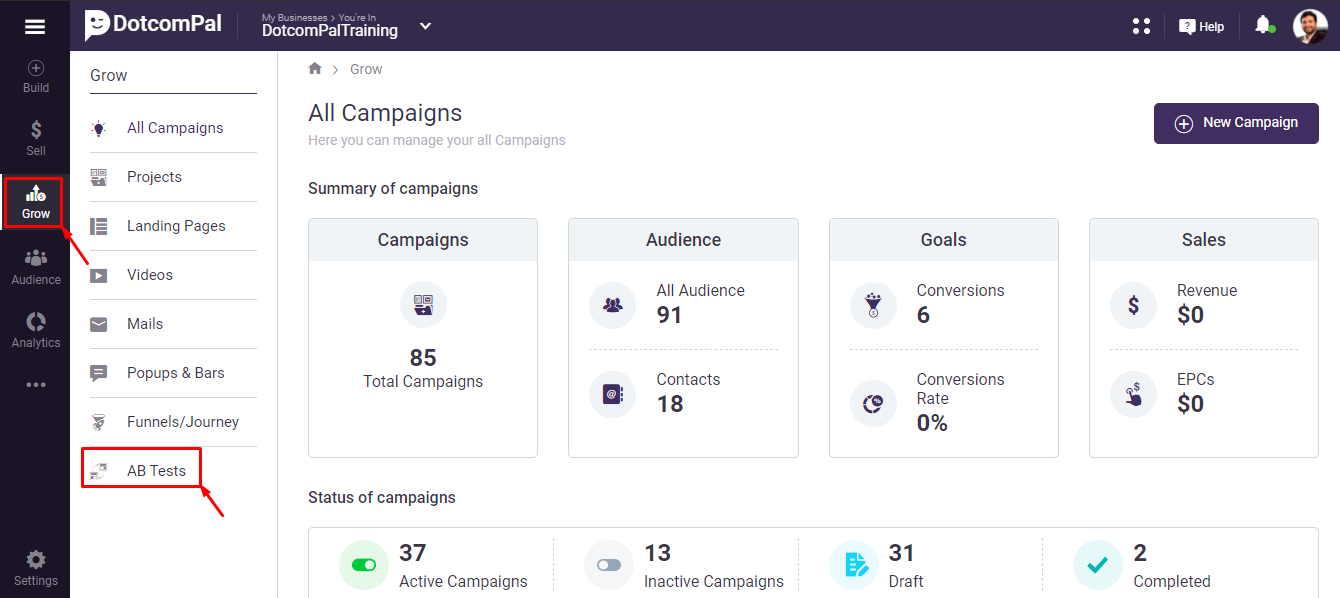
On the dashboard, click on this Grow icon present in the menu bar, then click on AB Tests.
In the AB Tests section click on Pop-ups & Bars.
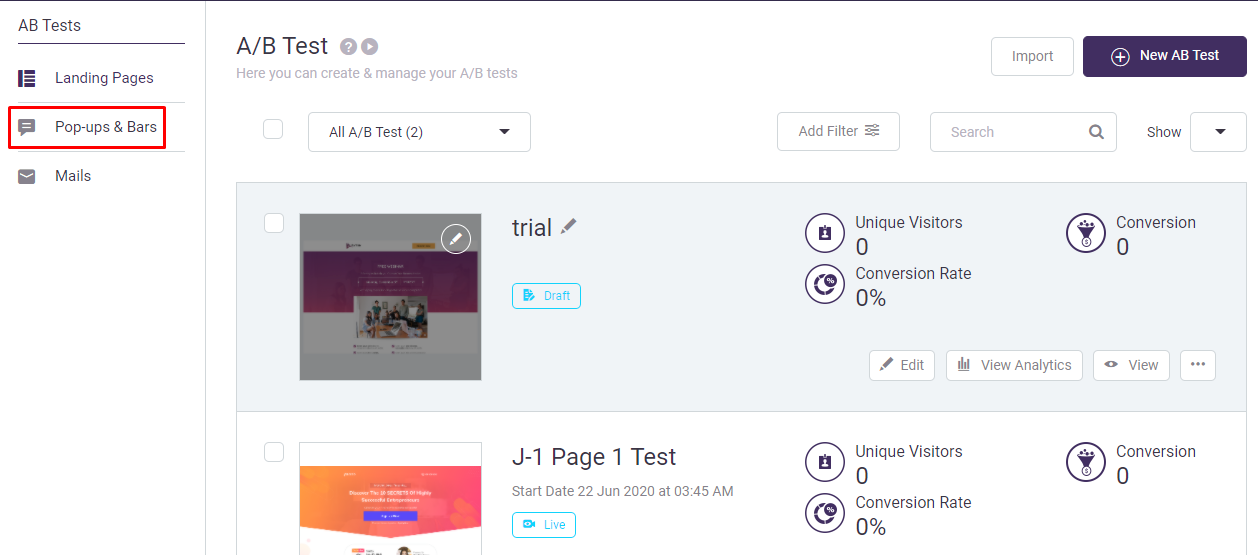
Here you will see all the AB tests you have created in your account.
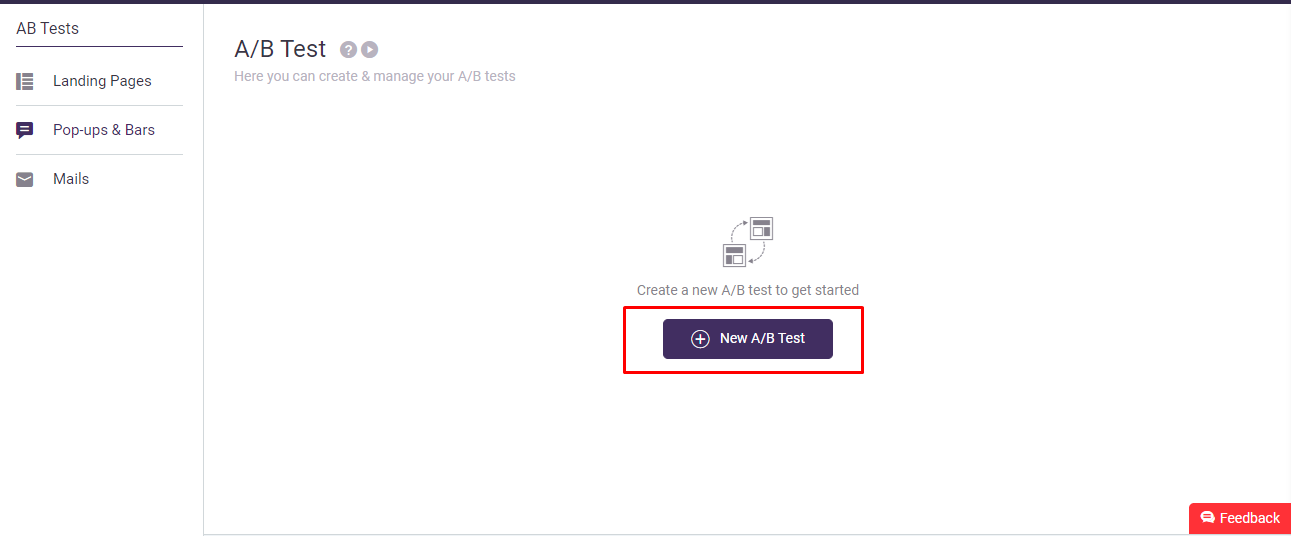
In order to create an A/B test for your WordPress or HTML site you need to click on the New A/B Test button.
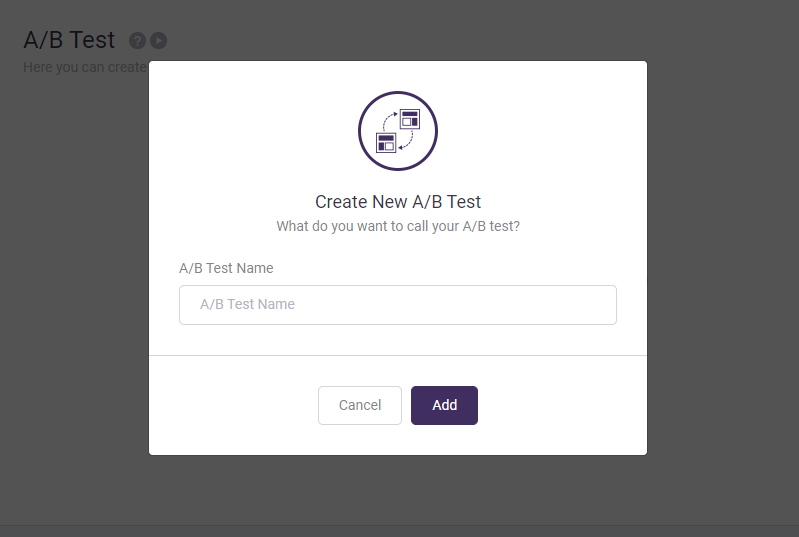
A popup window will appear, here you give a name to the AB test and then click on Add button.
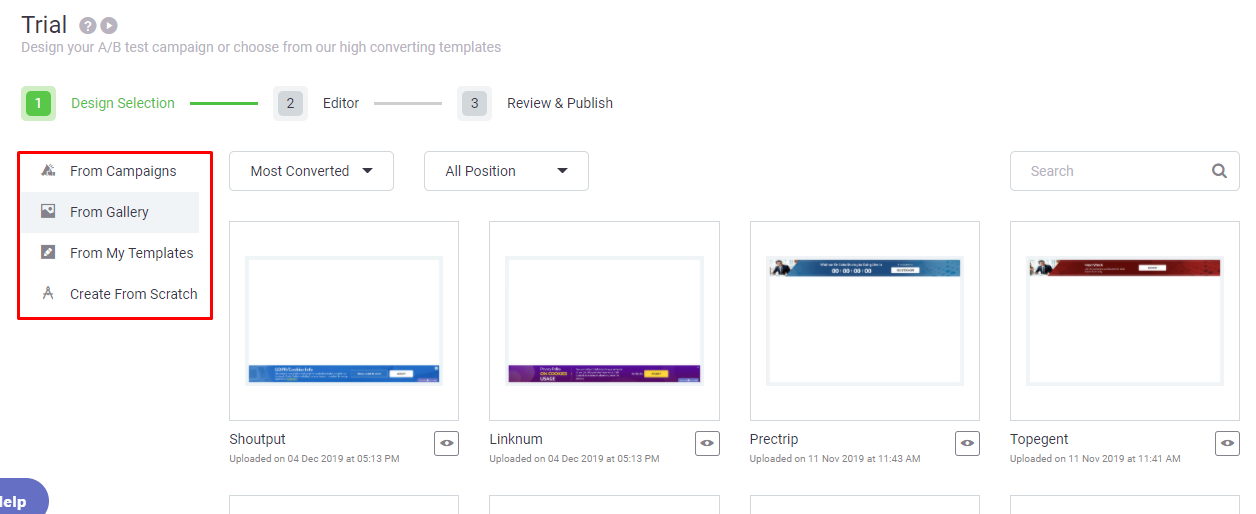
After that you will be taken to the Template selection section where you have to select a template for your A/B test from pages, from the gallery and your creation. Or if you want, you can create an A/B test from scratch here.
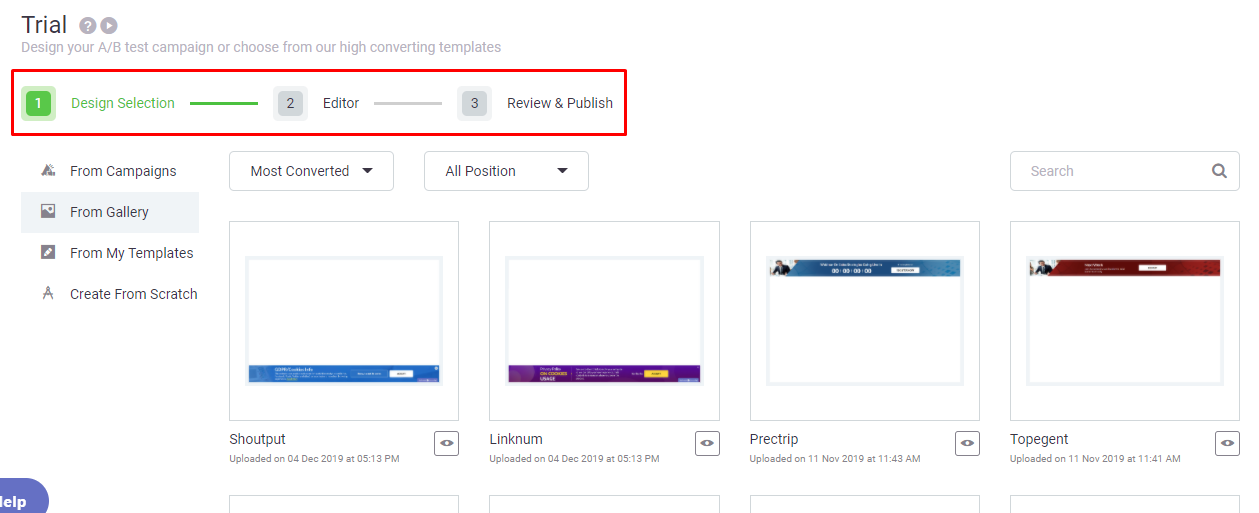
Here you will see that AB Test is divided into three sections Design selection, Editor and Review & Publish. After selecting the desired template or upon choosing the Create From Scratch option you will be taken to next section which is Editor.
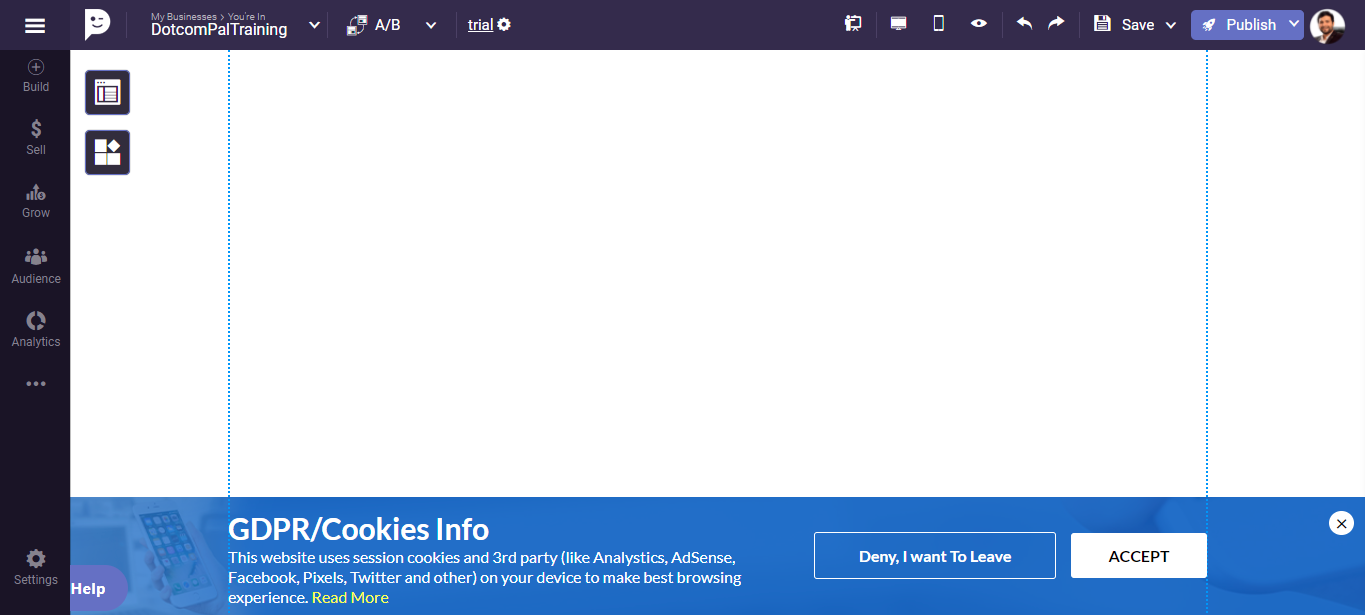
Now you are in the DotcomPal Editor, where you can customize this page as per your requirement by using the elements we have provided here in DotcomPal editor.
After completing the customization of you template, now you need to create another variant for this AB test because we must have minimum two variants for AB Testing.
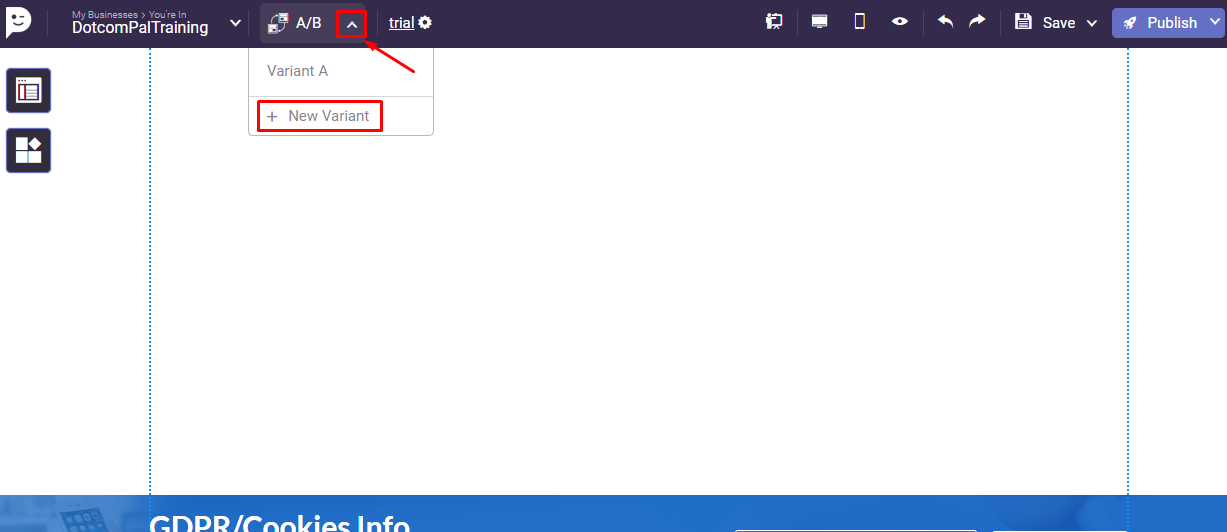
For this click on this A/B button present at the top in the editor and then click on New Variant button.
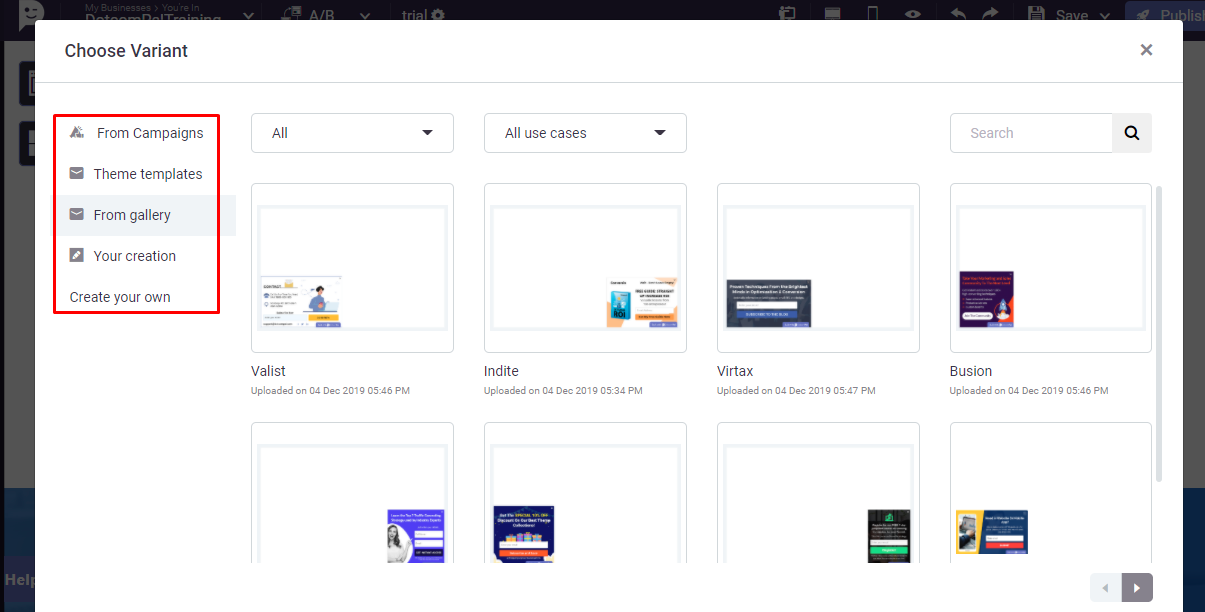
Here you can select the template From Campaigns, Theme templates, From Gallery and From your created templates or you can also Create your own..
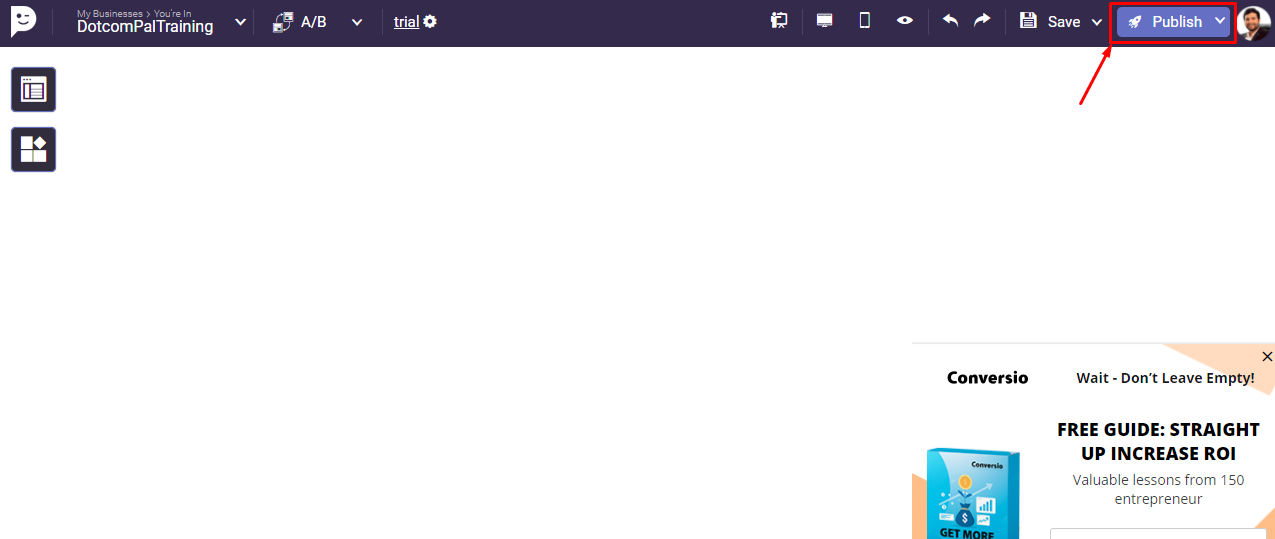
Now again we are in the editor, just customize your pop-ups and bars as per your requirements, then click on Publish button.
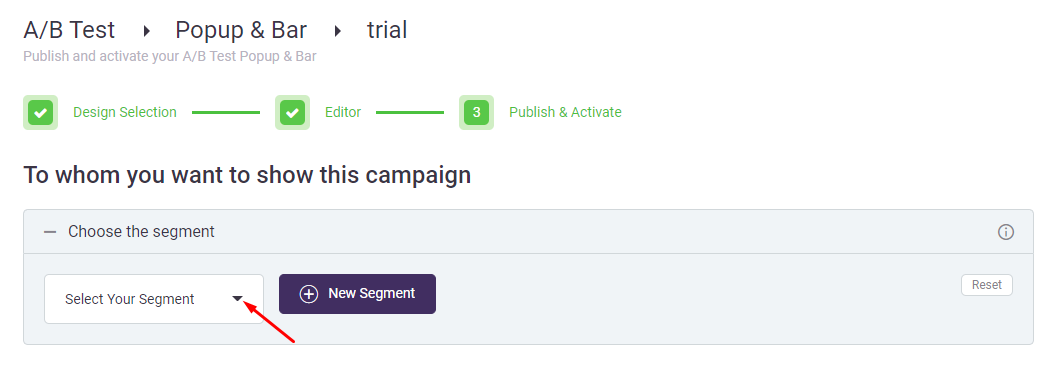
Now we are in the Review & Publish section. Here we can define some important settings. First, we need to set To Whom you want to show this campaign
We need to choose a segment, you can choose any of the segment you have created in your account, or you can create a new segment, If you want to reset the settings, click on this reset button.
Now we need to set Where to show this campaign.
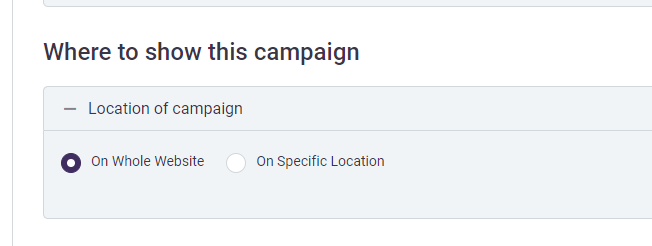
You can choose the location on your website, whether you want to show it on the whole website or on a specific location. If you want to show it on all the pages of your website then just select this On whole website option.
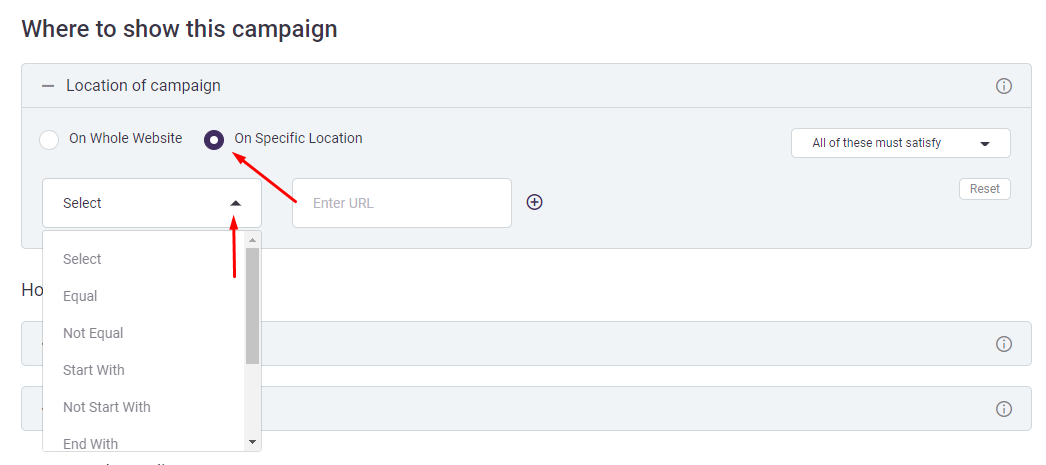
But if you want to show it on a specific location on your website, then there are some conditions you can apply here. You can select the condition equal, not equal, start with, not start with, end with, not end with, contains and not contains. Now we need to put the URL here for the condition equal. This URL can be any of the URLs from your website where you want to show these pop-ups and bars.
 You can apply condition “all of these must satisfy or any of these must satisfy. If you want to show pop-ups and bars on another specific URL on your website, then click on this plus button and apply the condition for it and enter the URL.
Next, you need to define how to show this campaign, on your website..
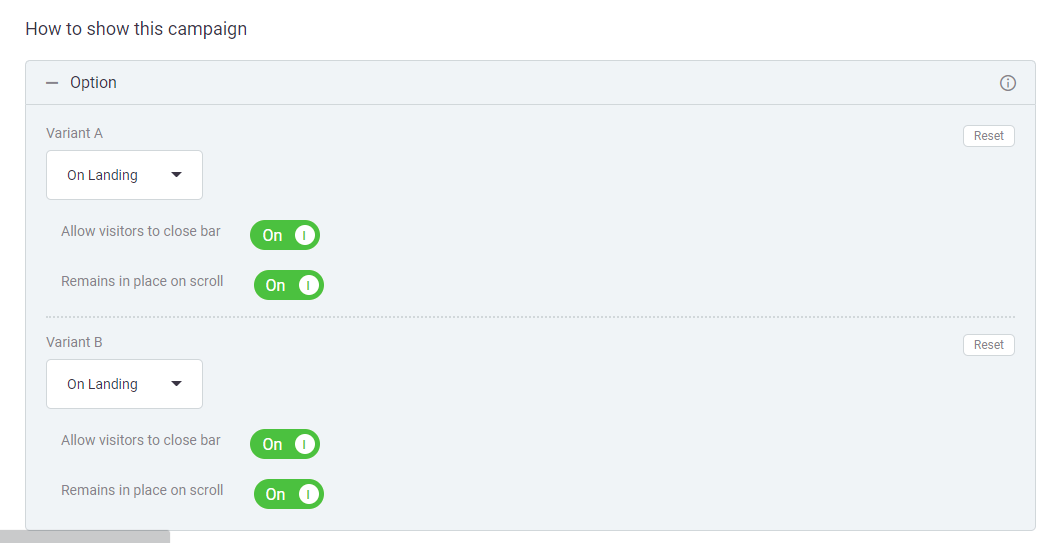
You can set this for both the variants. You can decide it to show on landing, on exit, on scroll, or on delay.
You can choose for variant B as well.
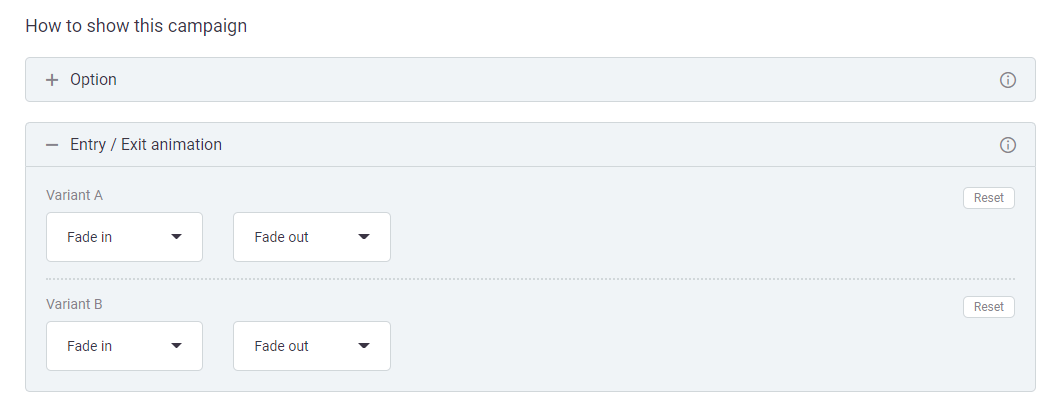
Now you can set the Entry or Exit animation. You can choose from this list whatever you like and also select for variant B.
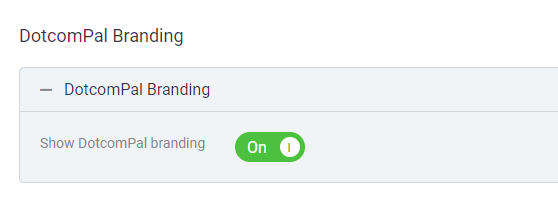
Next, you can turn off DotcomPal White labeling on your pop-ups and sticky bars. You can turn this off to hide the DotcomPal branding.

Move forward to the next option that is “Maximum number of times this campaign is shown to the visitor”. You can set the maximum limits for showing the pop-ups and sticky bars on your website. You can choose the option ‘Exclude from campaign limits’ and move to the next option.
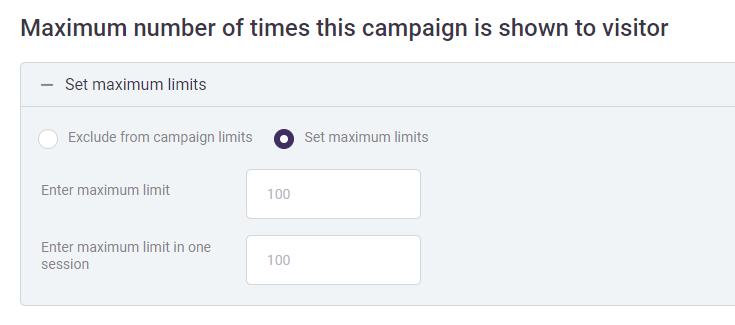
But if you choose Set maximum limits, then you need to enter the maximum limit and Enter the maximum limit in one session. Once done, move to the next step.
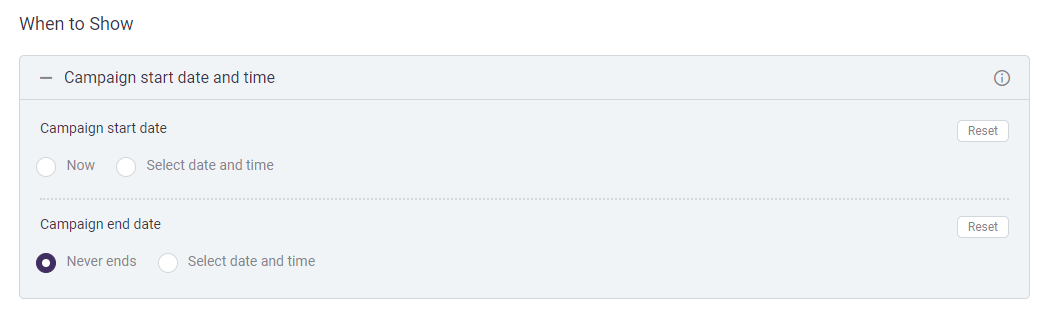
Now, using this When you want to Publish option you can set when to show these pop-ups and bars. if you want to activate this now then you have to select Now and if you want to schedule it then with the select date and time option you will be able to choose specific date and time of publishing.
Same you can do with the campaign’s ending. You can set ‘never end’ if you want to set it permanently or you can select a date to end this.
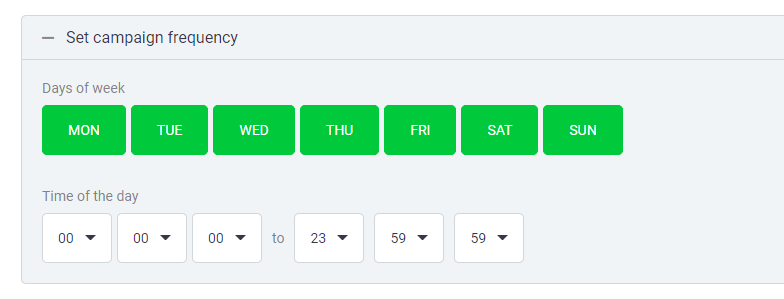
Next you can Set campaign frequency.
If you want to turn off the campaign for any particular day of the week, then you can set it here. And it will show on your website between the date and days you have selected. You can also set the time to start the campaign.
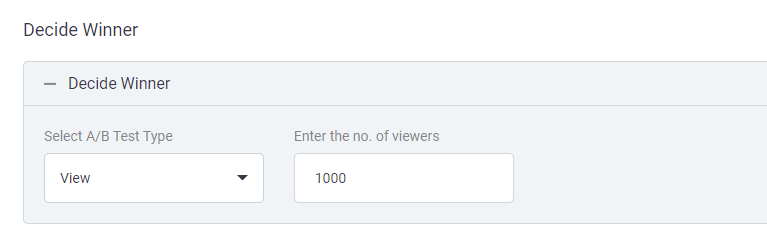
The last option is to decide the winner.
There are 2 conditions here that you can set to decide your winner.
Whether you can apply the Lead condition, or you can apply View condition.
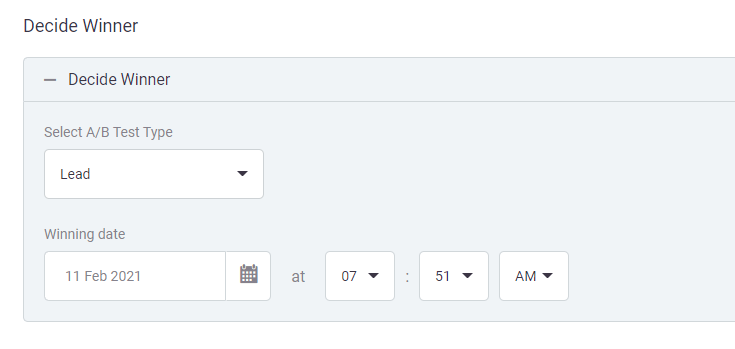
If you apply the lead condition, then you set the winning date. After setting the date you can set the time. On this date and time, the winner will be decided. The variant who will generate the maximum number of leads will be the winner and the other one will be deactivated automatically.
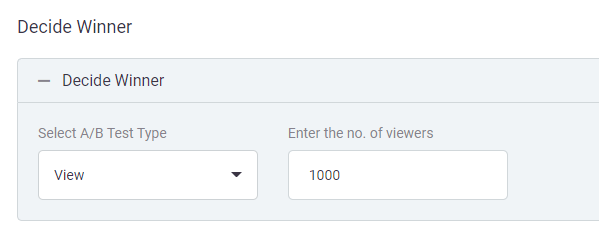
Now if you set the condition ‘View’, then you need to Enter the number of viewers, let’s say, you are putting 1000, then whoever gets 1000 views first, will be the winner between the variants A and B and the other one will be deactivated automatically.
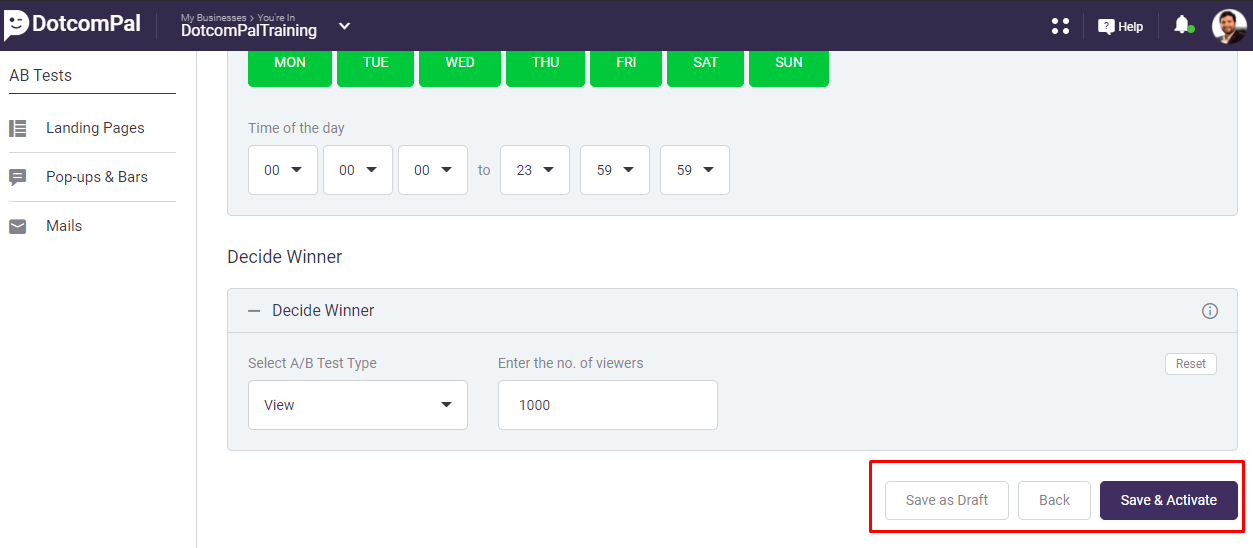
Once done with all the above settings, you can now save it as draft or if you still want to edit your pop-ups and bars then click on Back. If you are done with all the settings, then you can click on this Save & Activate button to publish it.
Next, you will be sent to all Ab Test section. Here you can see the list of your AB Test, you can see the Unique visitors for this Ab Test, conversion, and conversion rate.
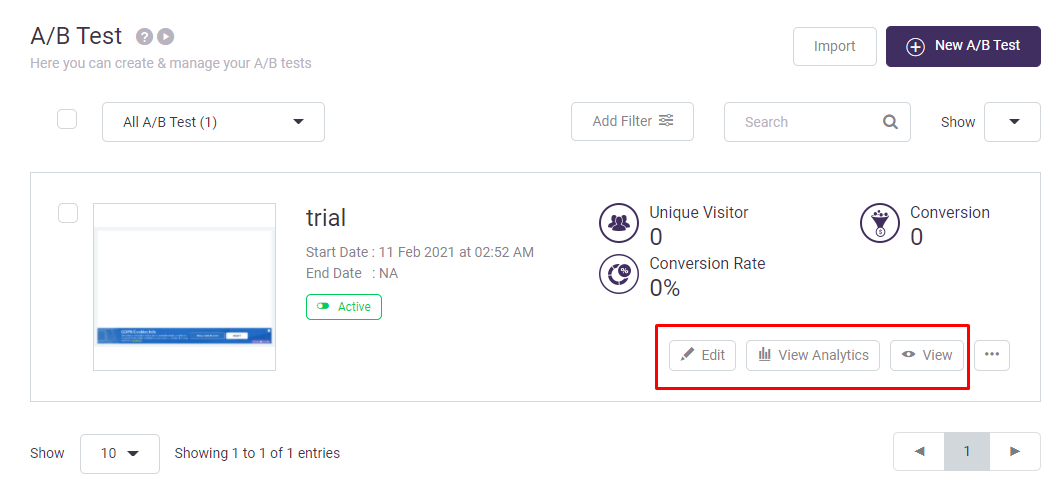
If you want to edit the AB test, you can click here on the edit button, click here to view the analytics, click on the View button to see these pop-ups and bars.
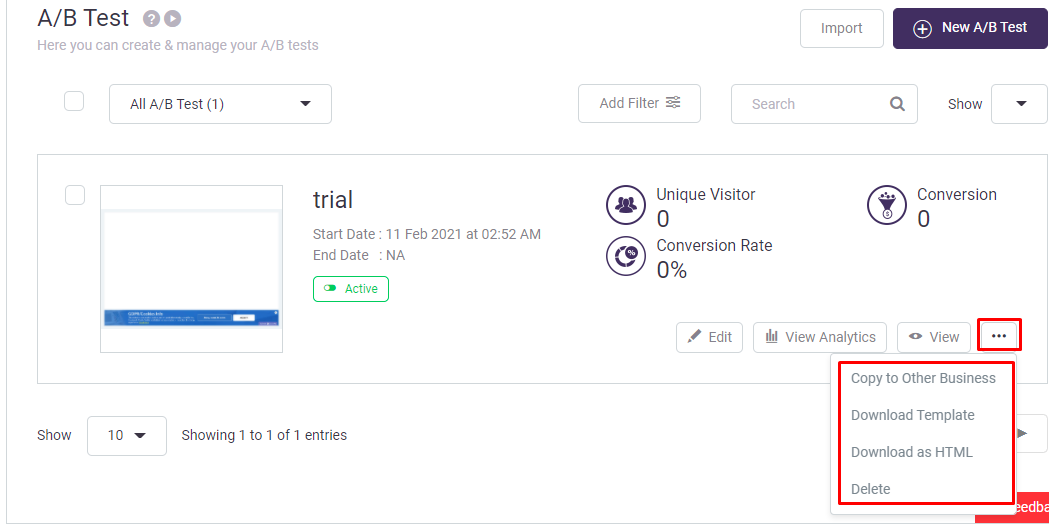
Check more option here.
You can copy this to your other DotcomPal Business, you can download the template, download this as HTML, or if you want, you can delete this.
You can search for any AB test here by putting their names or related keyword.
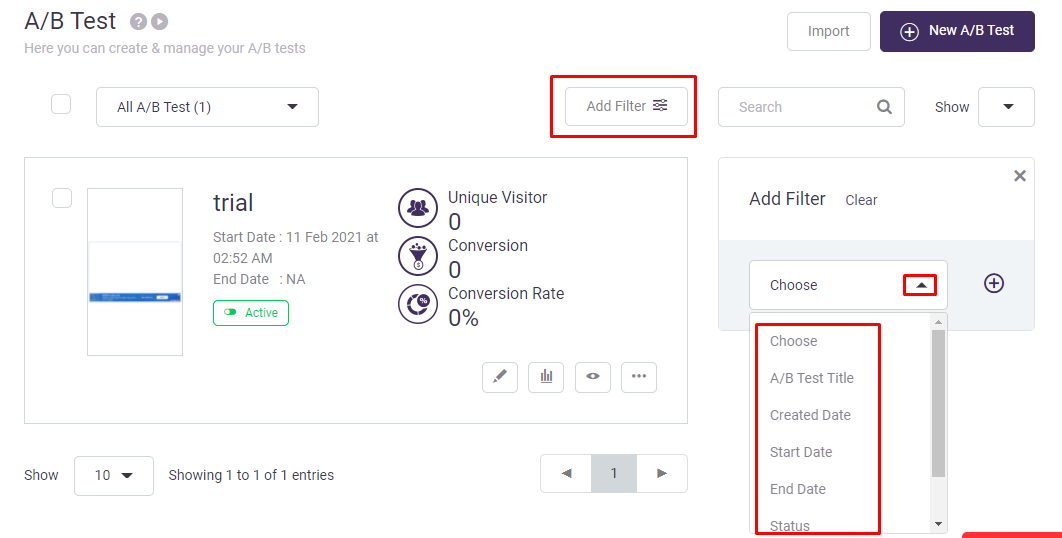
You can also add a filter here. You can filter the list by A/B test title. Created date, start date, end date and status. you can also apply another condition by clicking on this plus sign.
So, this is how you can create the AB test for your pop-ups and bars.
I hope this was helpful.
Was this article helpful?
That’s Great!
Thank you for your feedback
Sorry! We couldn't be helpful
Thank you for your feedback
Feedback sent
We appreciate your effort and will try to fix the article