Steps For How To Create Profiles and Add Members
Step 1: Access the Settings
Go to the vertical menu on your dashboard and click on Settings.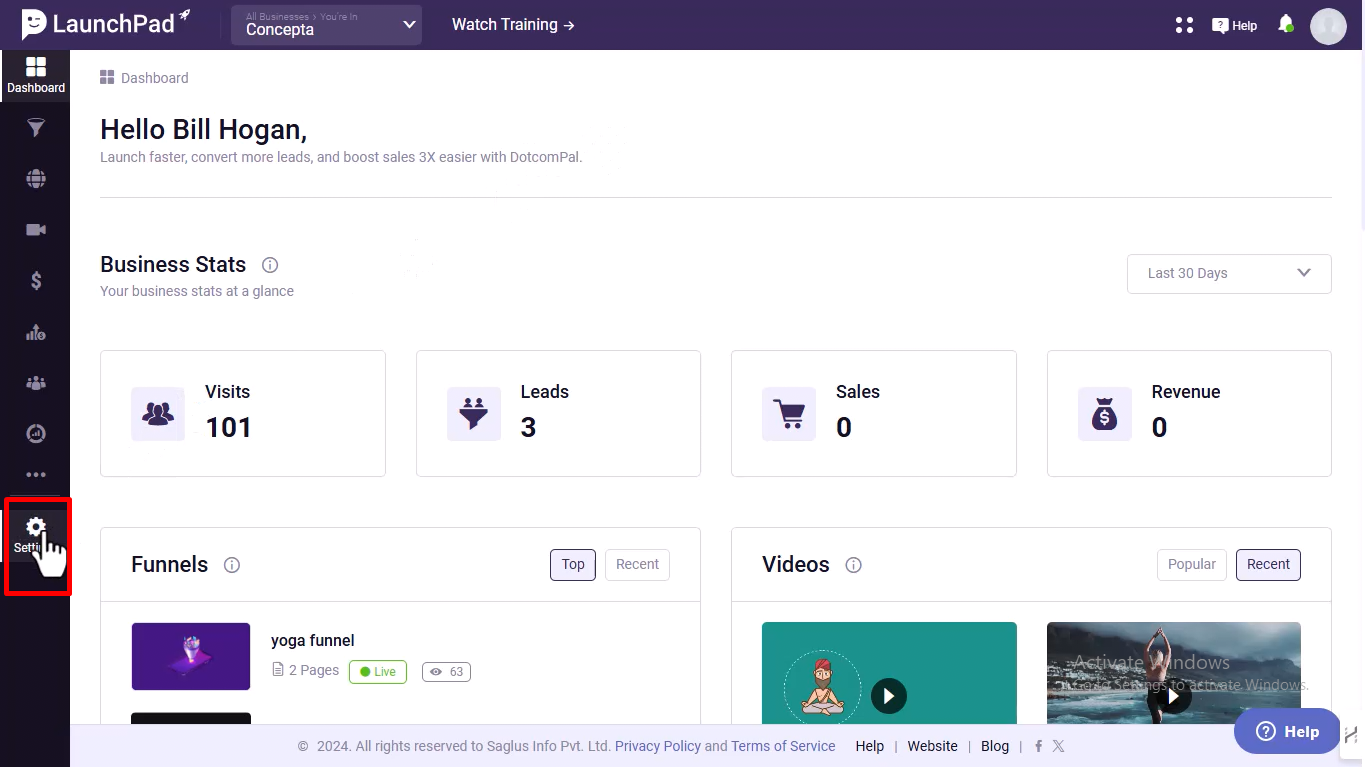
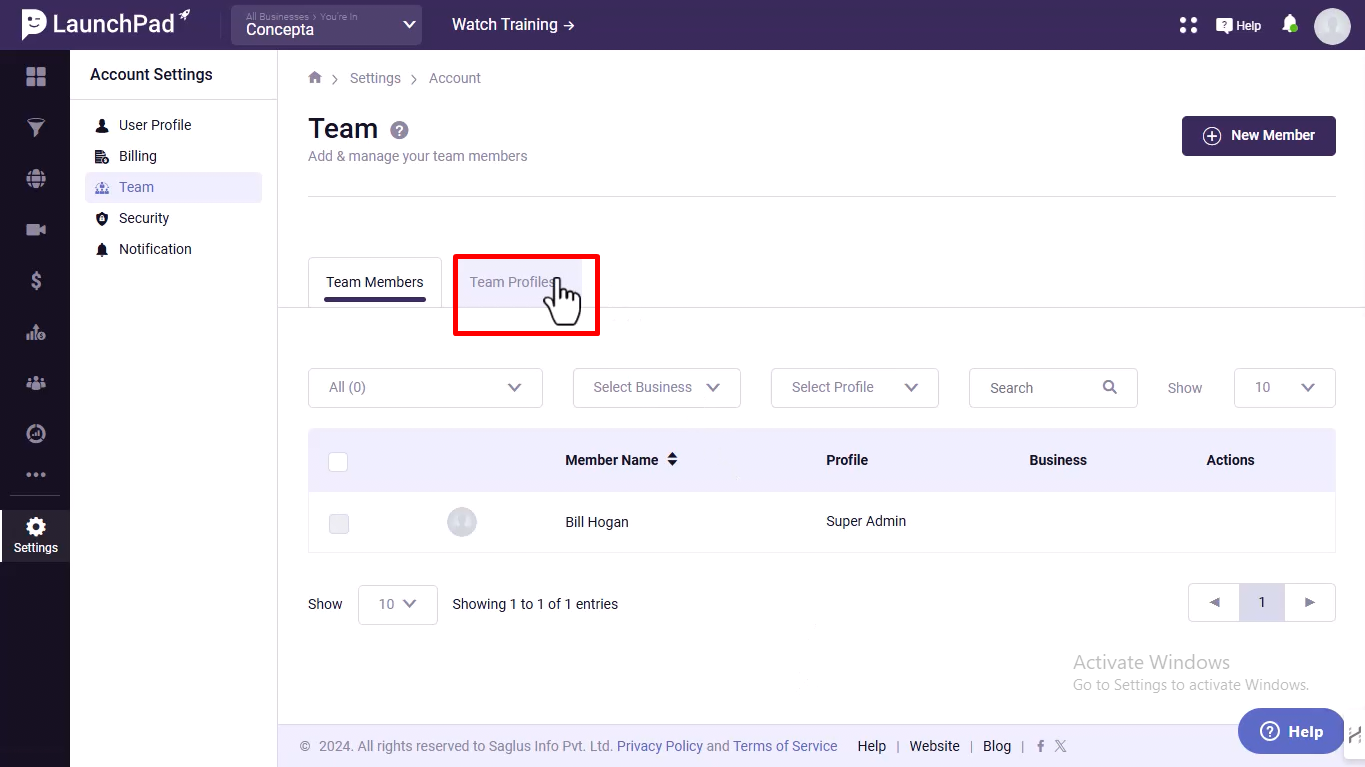
Step 2: Navigate to Team Profiles
Scroll down and select the Team option to go to the Team Dashboard. Then navigate to the Team Profiles tab.

Step 3: Create a New Profile
Click on the Add Profile button. A drop-down labeled Select Business will appear. Choose the business where you want to create the profile.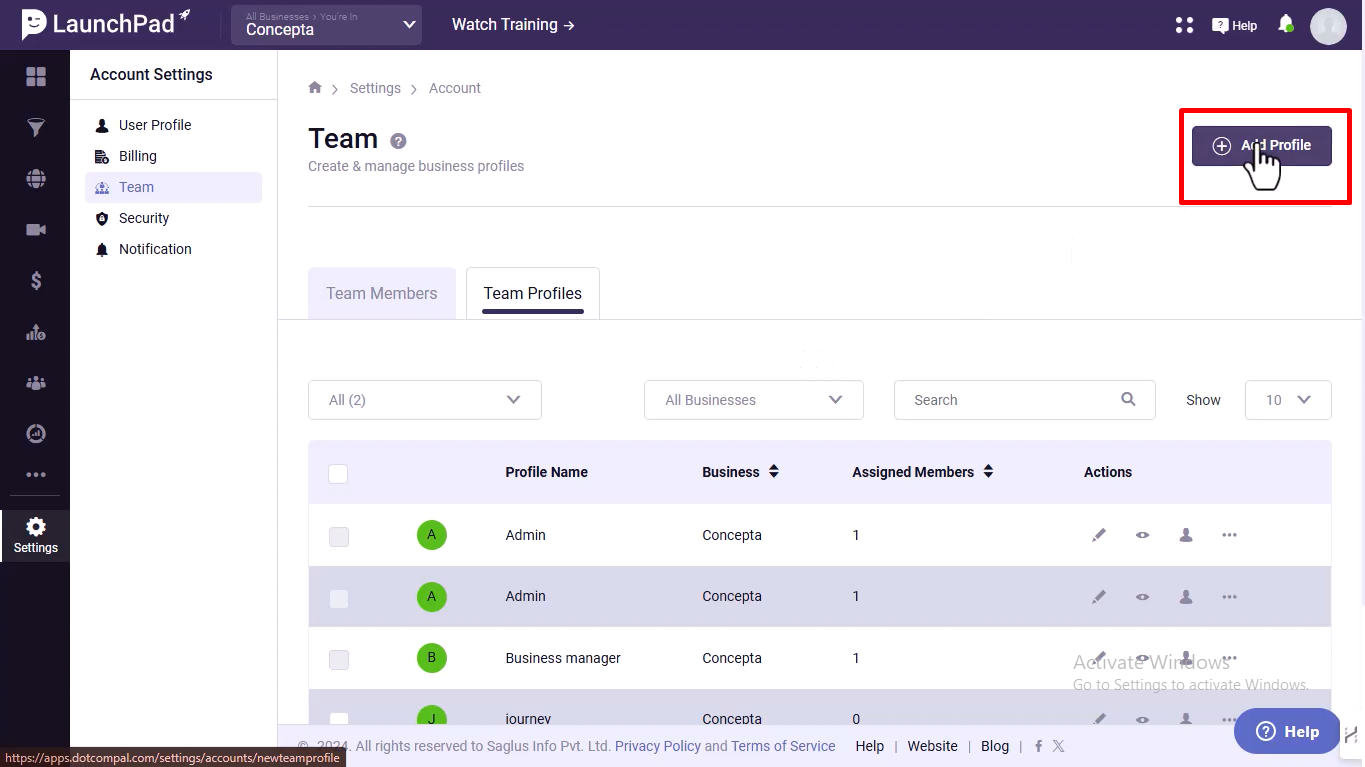
Step 4: Name the Profile
In the Enter Profile Name box, type the name of the profile (e.g., Graphic Designer).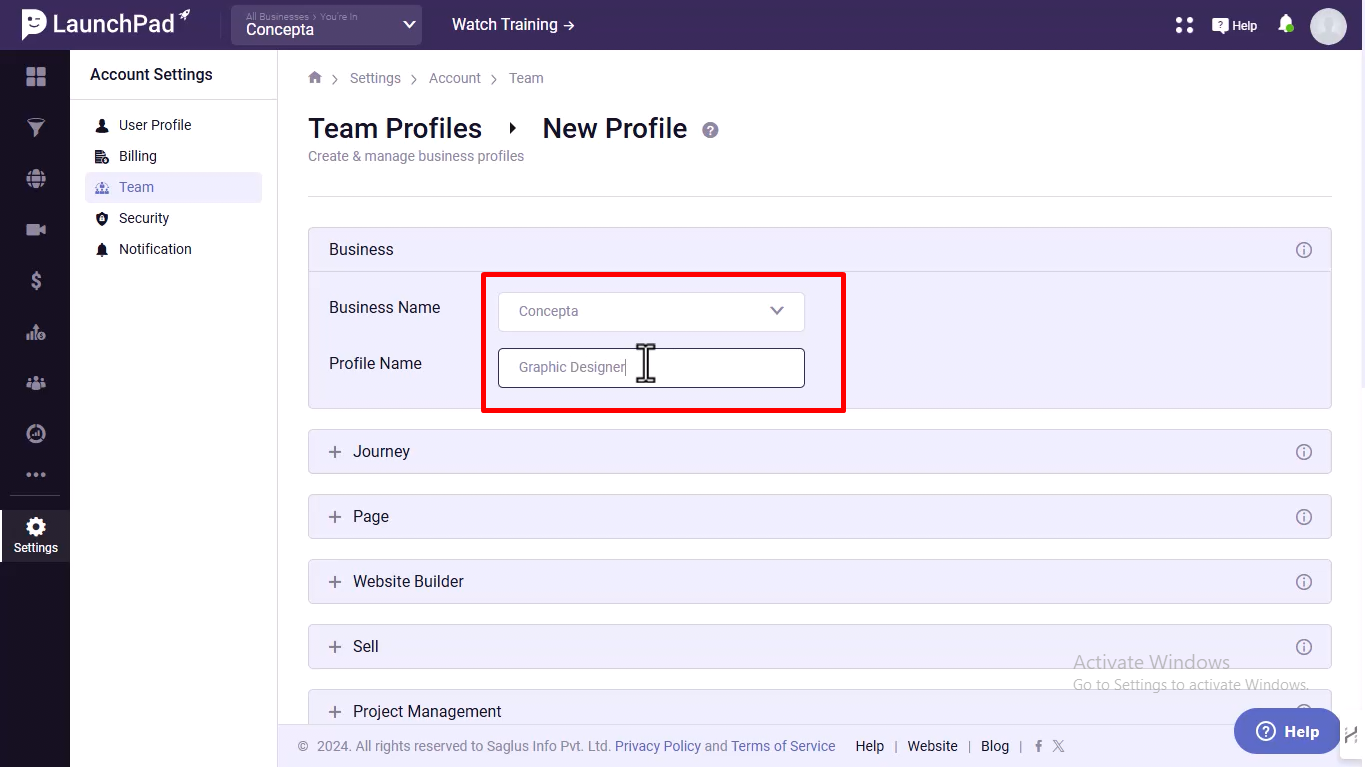
Step 5: Assign Permissions
Grant permissions based on the role’s responsibilities. For this example, assign access to:
Page Website
Builder
Video
My Drive
You can customize permissions according to the specific needs of the role.
Step 6: Save the Profile
Click Save to finalize the profile creation.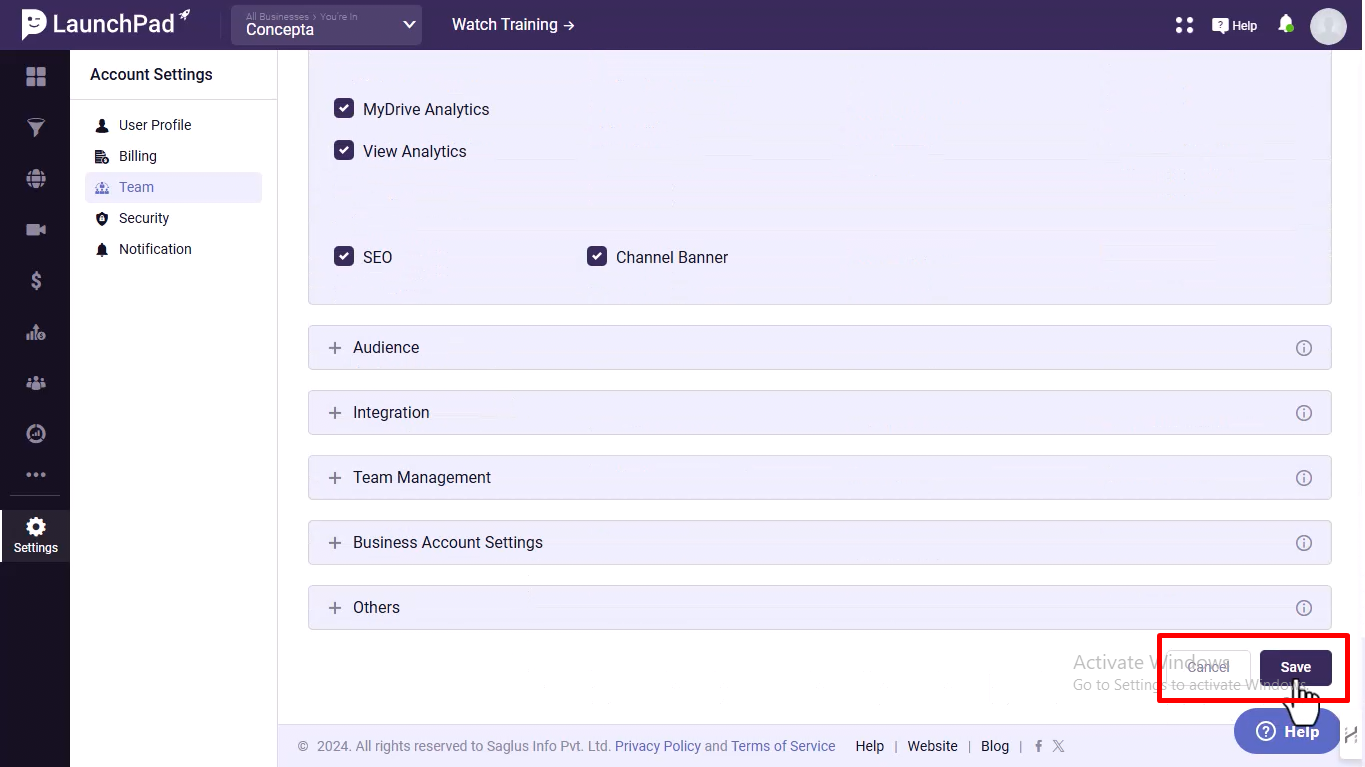

Step 7: Add a New Team Member
Switch to the Team Members tab and click on the New Member button.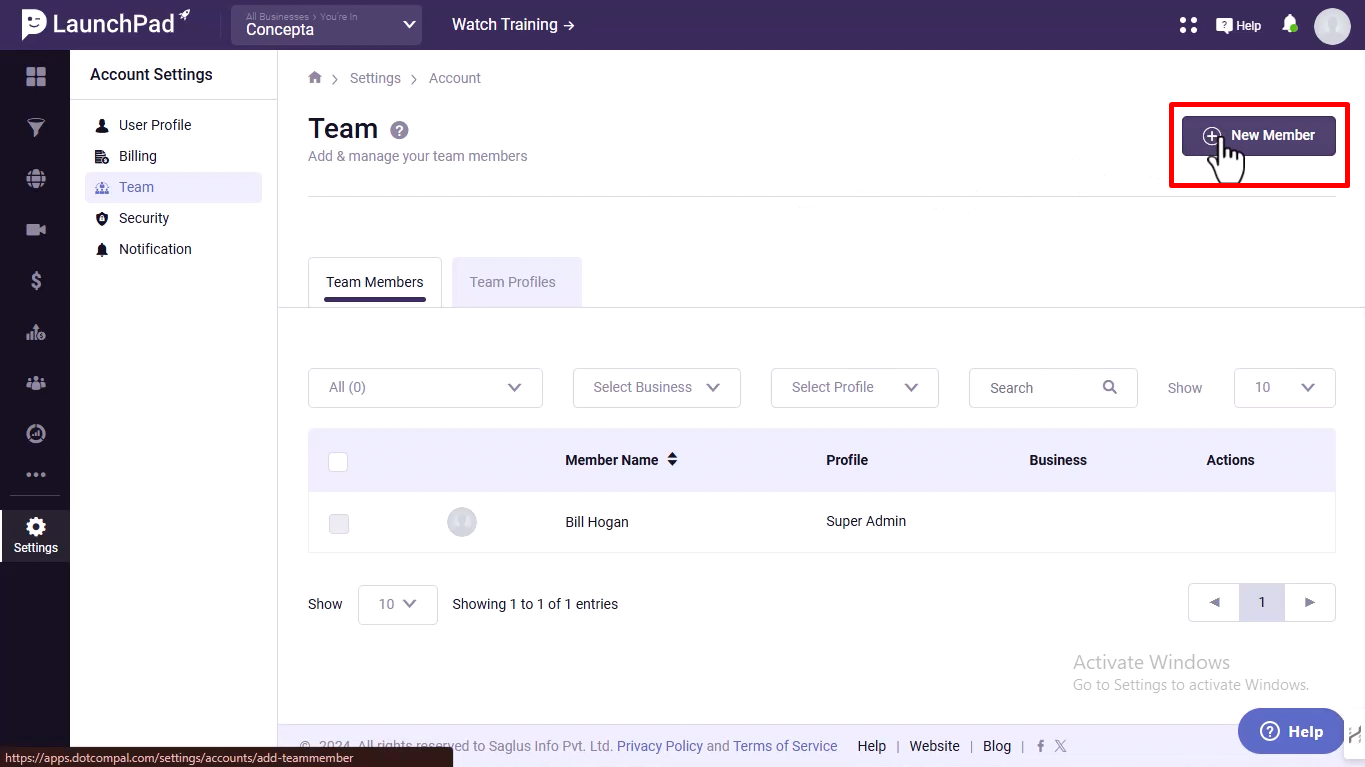
Step 8: Upload a Profile Picture
Click on the Upload button to add a profile picture.
Step 9: Fill in the Team Member’s Details
Enter the member’s Full Name, Email Address, and Mobile Number. 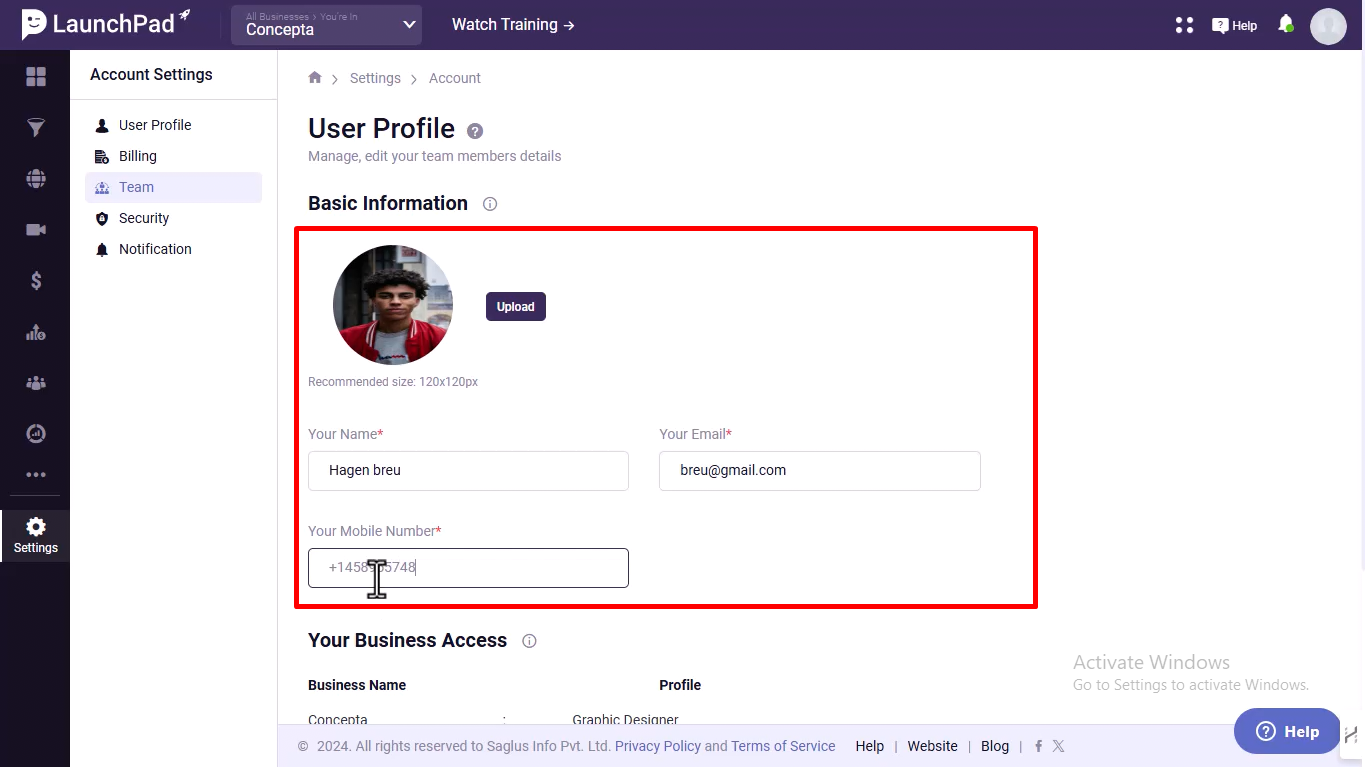
Step 10: Select the Profile for the Team Member
Scroll down to the Choose Profile drop-down menu and select the appropriate profile for the team member.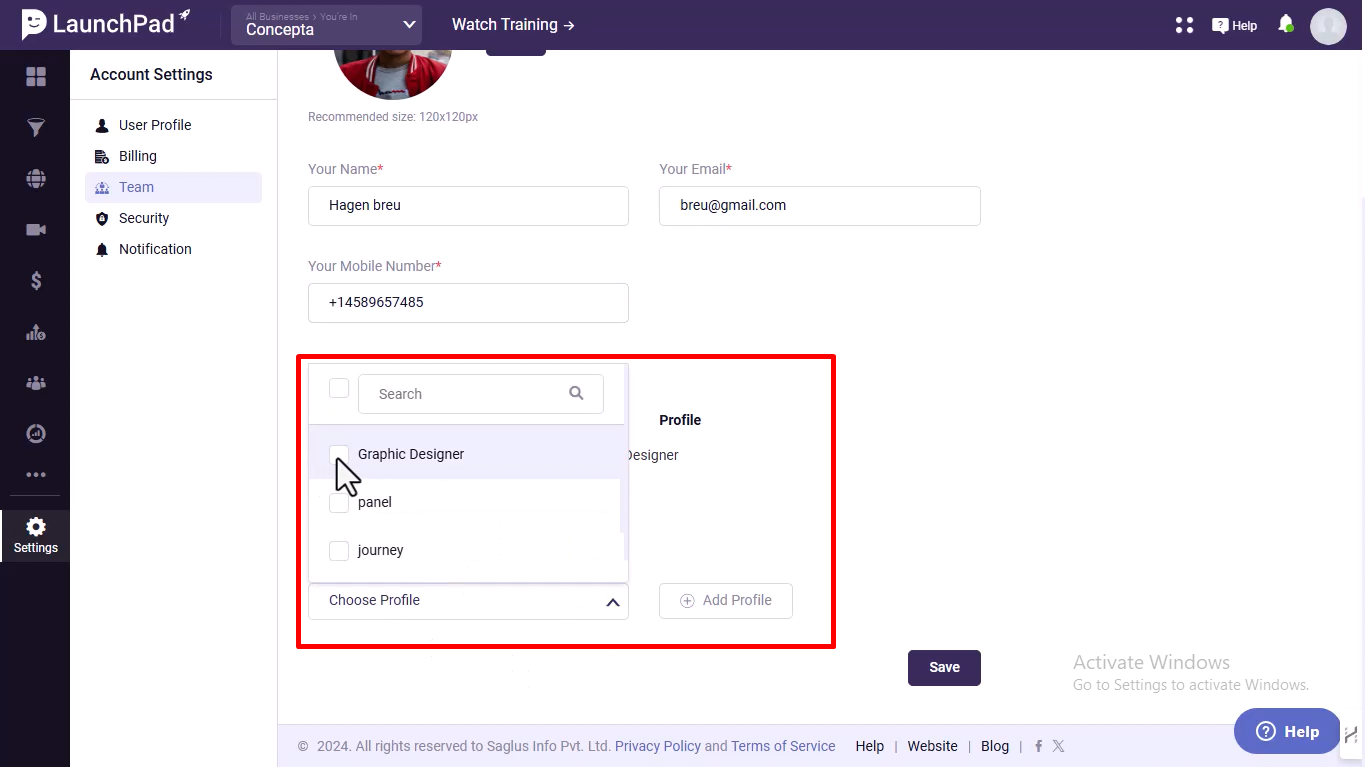
Step 11: Save the Team Member
Click Save to complete the process of adding the team member.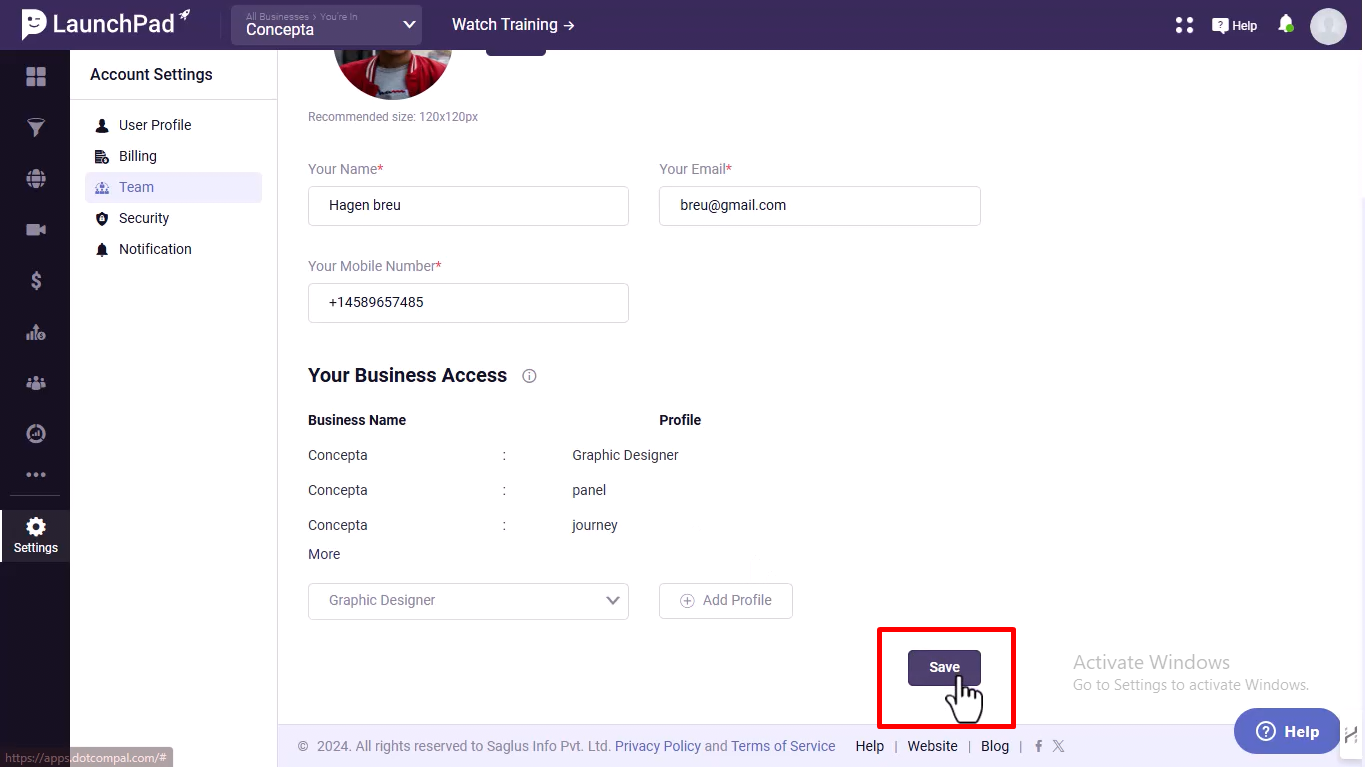
Was this article helpful?
That’s Great!
Thank you for your feedback
Sorry! We couldn't be helpful
Thank you for your feedback
Feedback sent
We appreciate your effort and will try to fix the article