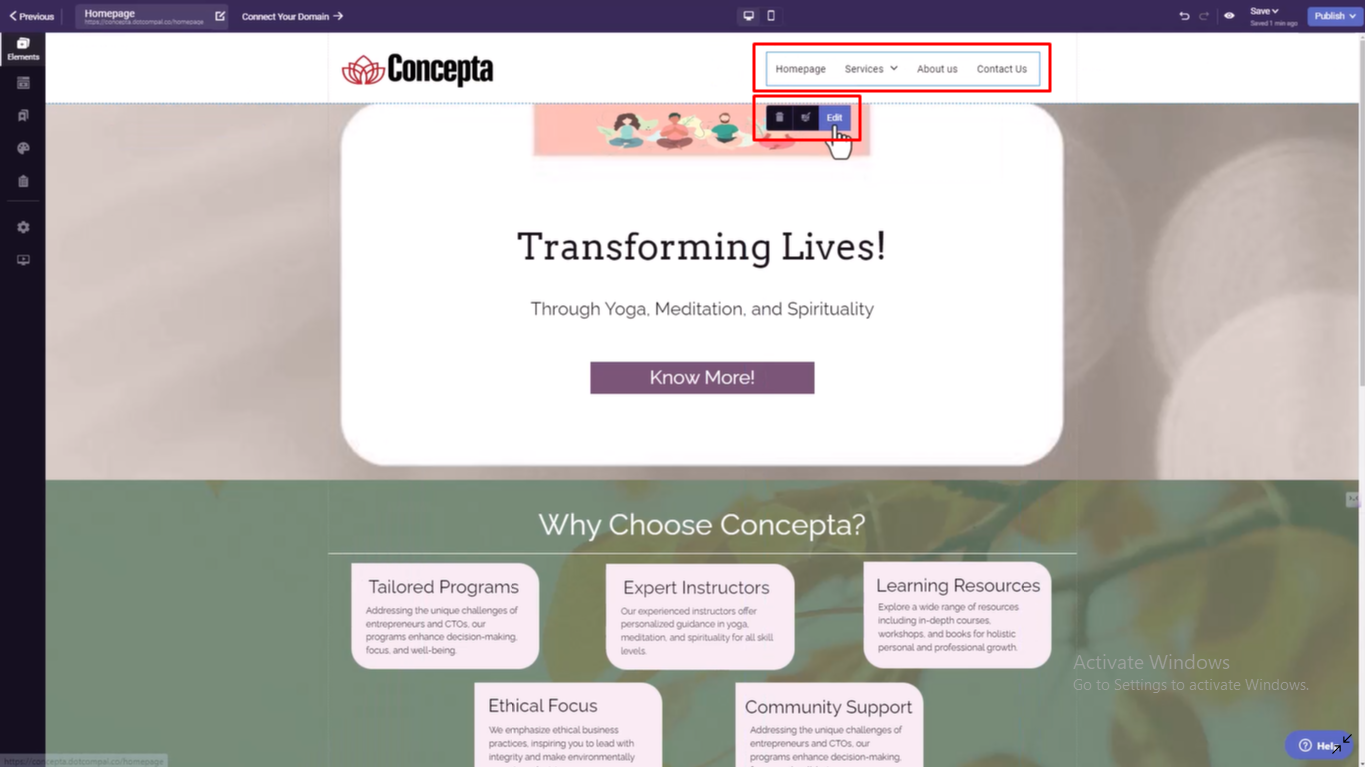
Steps For How To Create Menu
Step 1: Locate the Menu Option
Go to the elements section in the left-hand command panel and find the menu option. Drag it into the header section of your page.

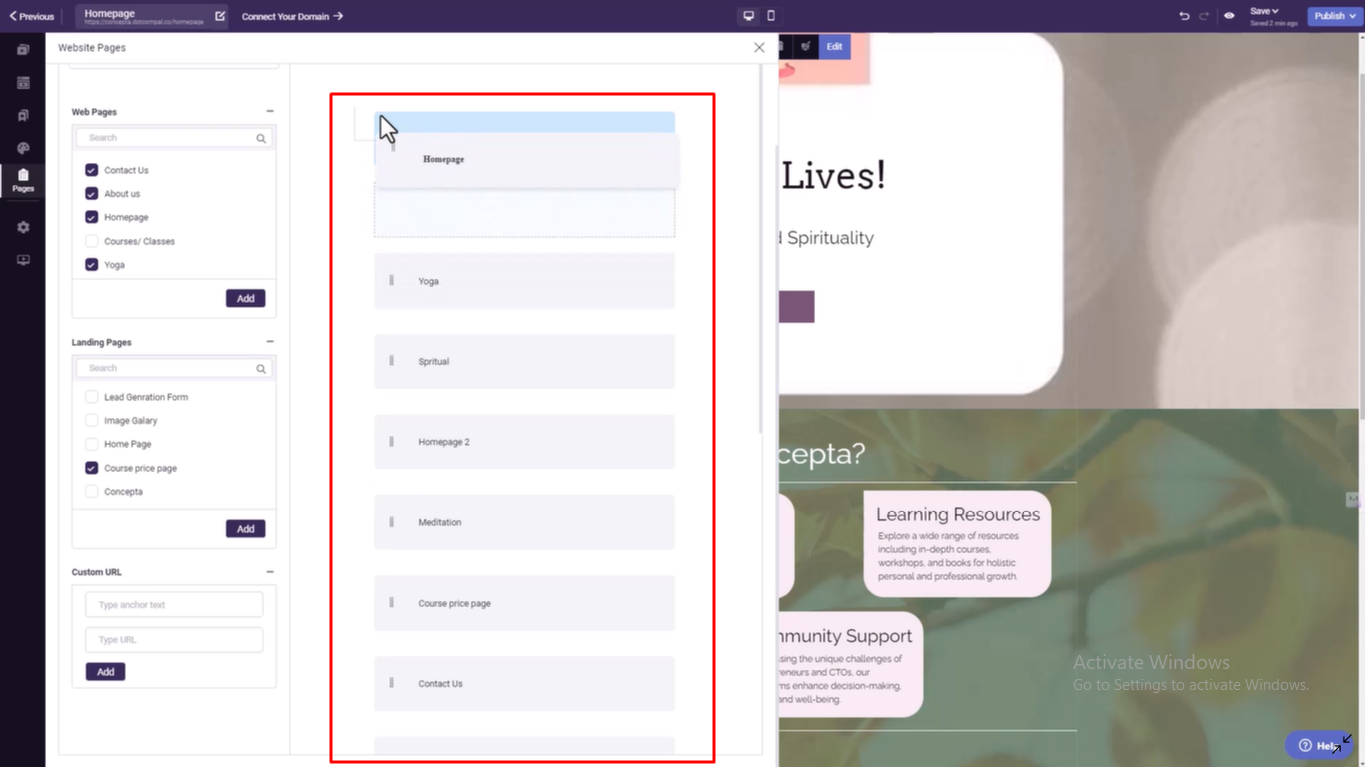
Step 2: Edit Menu for Customization
Click the menu to open the edit pop-up. The edit panel will appear on the left side with options for your website page and menu.
Step 3: Add a New Menu
Click the button to add a new menu. Customize it using the available options for your website's theme.

Step 4: Name the Menu
Give your new menu a name.

Step 5: Select Menu Elements
Webpages: Select the webpages you want to add to your menu.
Landing Pages: Select desired landing pages for your menu.
Custom URL: Add a custom link by manually entering the URL.

Step 6: Arrange Menu Elements
Drag and drop elements to arrange them in the desired order. To create sub-elements, drag the item to the right to place it under another.
Step 7: Remove Unwanted Elements
If you added an element by mistake, click the delete button next to it to remove it.

Step 8: Save Your Menu
Click the Save button to ensure all your changes are preserved.

Step 9: Add the Menu to Your Page
Go to the menu section and select the page option. Choose your newly created menu to add it to your website.

Step 10: Finalize and Publish
Review your menu design, ensuring it is user-friendly and aligns with your brand. Once satisfied, publish it to enhance your website's navigation.

Was this article helpful?
That’s Great!
Thank you for your feedback
Sorry! We couldn't be helpful
Thank you for your feedback
Feedback sent
We appreciate your effort and will try to fix the article